Rustic Mixed Berry Galette with Cinnamon : Easy Summer Dessert!

Rustic Mixed Berry Galette with Cinnamon : Easy Summer Dessert!
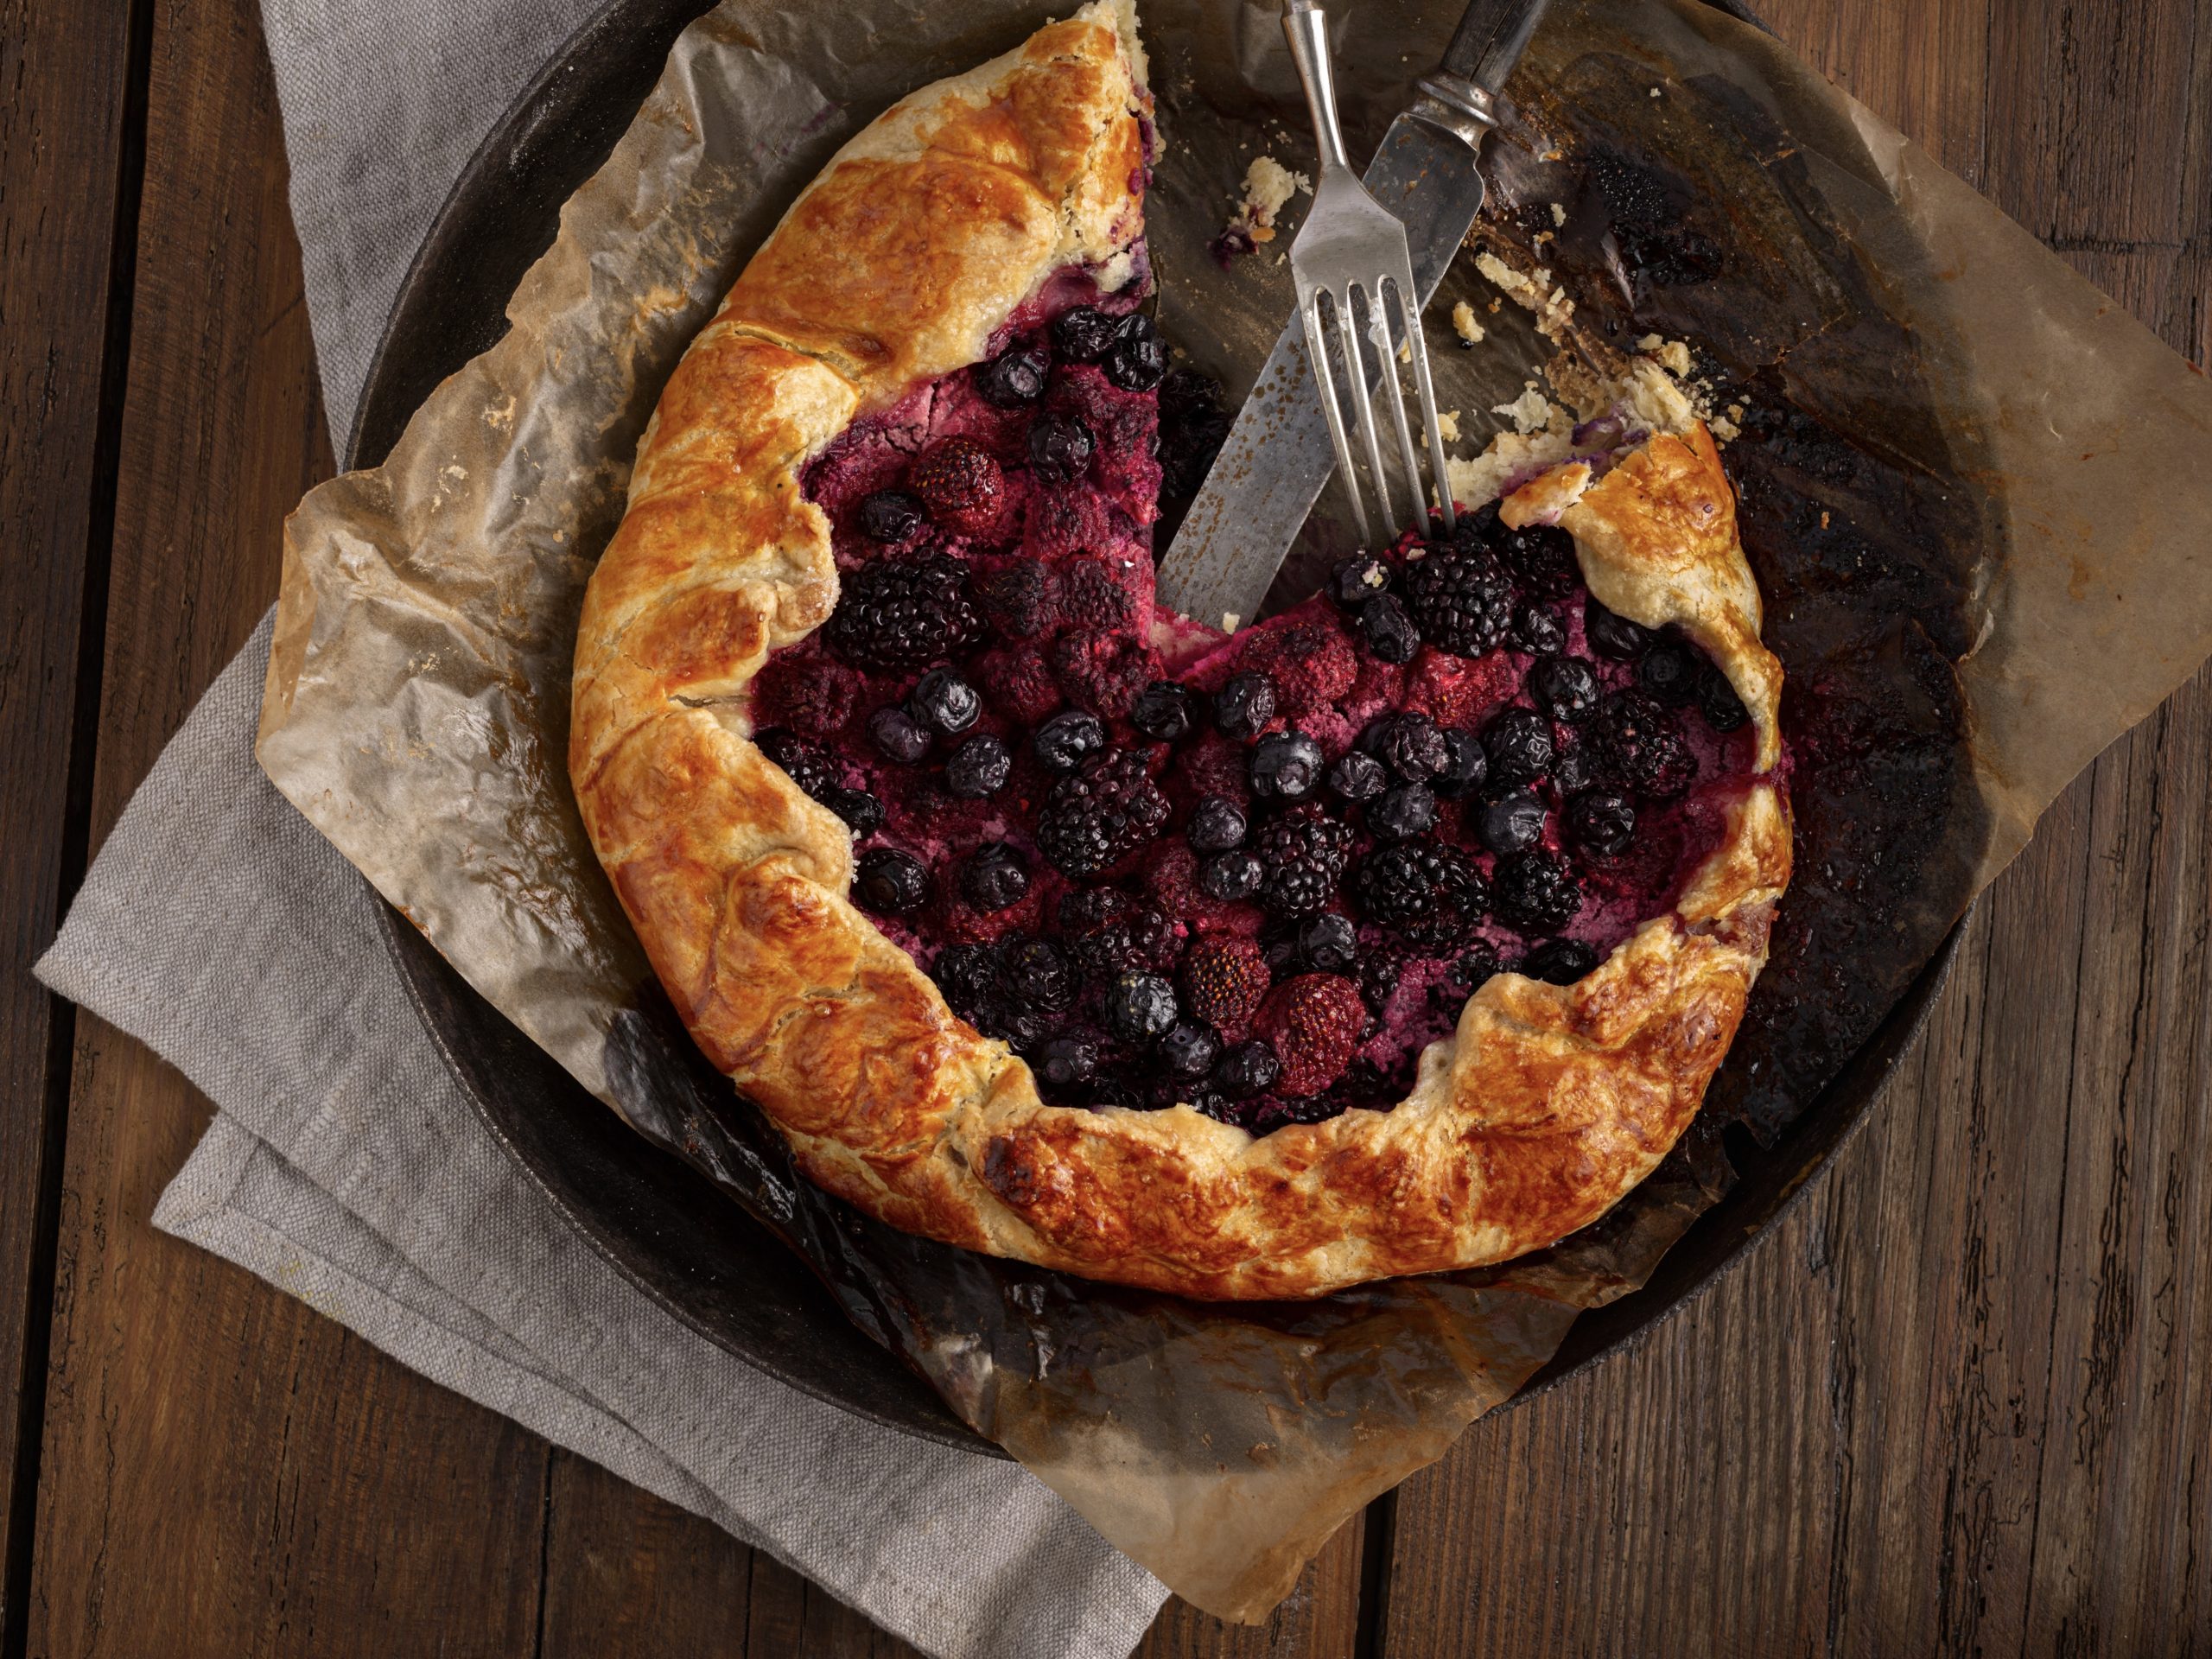
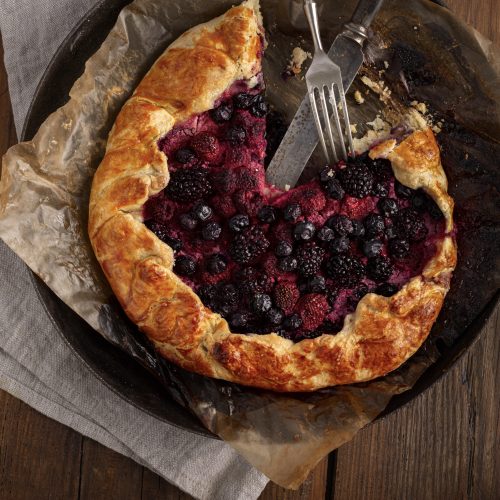
This rustic mixed berry galette with cinnamon is an easy summer dessert with all the flavor of pie but half the work. Flaky buttermilk cornmeal crust + juicy berries = perfection!Why You’ll Love This Mixed Berry GaletteLooking for a simple yet stunning dessert that screams summer? This rustic mixed berry galette is the answer. It has the elegance of a fruit tart and the comfort of homemade pie, all wrapped in a flaky, golden buttermilk cornmeal crust. A dash of cinnamon adds a warm twist that brings out the natural sweetness of the berries.Perfect for:Backyard barbecuesSummer potlucksLazy Sunday brunchCelebrating berry season!What Is a Galette?A galette is a free-form tart—basically a pie without the pie dish. It’s a French pastry that’s easy to make, beautifully rustic, and endlessly customizable. Unlike traditional pies, galettes are forgiving, fuss-free, and perfect for showcasing seasonal fruits.
Ingredients
For the Buttermilk Cornmeal Crust
- 1 1/4 cups all-purpose flour 156g
- 1/4 cup fine cornmeal 30g
- 3 tbsp granulated sugar 38g
- 1/4 tsp salt
- 1/2 cup cold unsalted butter, cubed 113g
- 1/4 cup cold buttermilk 60ml
For the Berry Filling
- 4 cups mixed berries 600g fresh or frozen – don’t thaw!
- 1/4 cup granulated sugar 50g
- 1 tbsp cornstarch 7g
- 1 tbsp fresh lemon juice 15ml
- 1/2 tsp ground cinnamon optional but recommended!
- Egg wash: 1 large egg + 1 tbsp milk
- Coarse sugar for topping
Instructions
Step 1: Make the Dough
- Whisk together flour, cornmeal, sugar, and salt. Cut in the cold butter until the mix looks like coarse crumbs. Stir in cold buttermilk until a shaggy dough forms. Shape into a disc, wrap in plastic, and refrigerate for at least 1 hour.
Step 2: Prep the Filling
- Just before rolling out the dough, toss berries with sugar, cornstarch, lemon juice, and cinnamon. Don’t let it sit too long—berries will get too juicy.
Step 3: Assemble the Galette
- Roll out the dough into a 12–14 inch circle. Transfer to a parchment-lined baking sheet. Spoon the berry mix into the center, leaving a 2–3 inch border. Fold the edges over, pleating as you go. Brush crust with egg wash and sprinkle with coarse sugar.
Step 4: Bake
- Bake at 425°F (190°C) for 28–32 minutes until the crust is golden and the filling is bubbling. Let cool on the sheet for 10 minutes before slicing.
Notes
Serving Suggestions
This galette is divine:
- Warm with a scoop of vanilla ice cream
- Room temperature with fresh whipped cream
- Cold with your morning coffee (no shame!)
- Room temp: Store loosely covered up to 2 days.
- Fridge: Keep in an airtight container for 4–5 days.
- Freezer: Wrap tightly and freeze up to 3 months. Thaw overnight in fridge.
- Oven: 300°F (150°C) for 10–15 minutes (best texture).
- Microwave: 20–30 seconds for quick reheating (soft crust).
- Cold ingredients = flaky crust. Don’t skip chilling the dough.
- Cornmeal adds texture. A subtle crunch that’s unexpectedly delightful.
- Don’t overfill. Four cups of berries is plenty!
- No pie pan needed. Embrace the rustic look—it’s part of the charm.
Nutrition
Calories: 282kcalCarbohydrates: 40gProtein: 3gFat: 13gSaturated Fat: 8gPolyunsaturated Fat: 1gMonounsaturated Fat: 3gTrans Fat: 0.5gCholesterol: 31mgSodium: 84mgPotassium: 95mgFiber: 3gSugar: 18gVitamin A: 403IUVitamin C: 3mgCalcium: 23mgIron: 1mg
Tried this recipe?Let us know how it was!


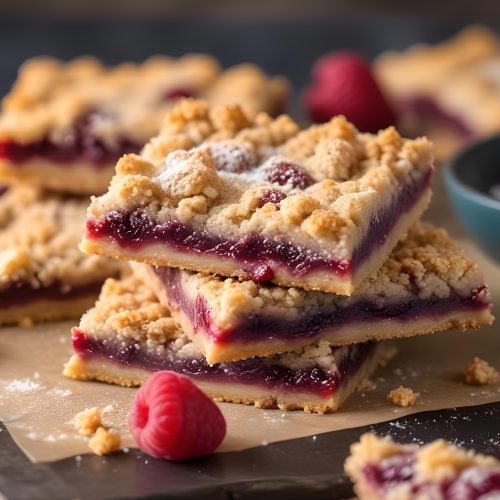
Almond Raspberry Linzer Bars
Almond Raspberry Linzer Bars
A Simplified Twist on a Classic Favorite If you love Linzer Cookies but don’t have the time (or patience) to cut and sandwich cookies, then these Almond Raspberry Linzer Bars are for you! A delicious, simplified version of the classic, these bars combine a rich almond-flavored crust, sweet raspberry jam, and a crumbly topping that’s just as indulgent as the traditional version—without the hassle. In this post, I’m going to share everything you need to know to make these Almond Raspberry Linzer Bars, including step-by-step instructions, tips, and tricks for success. Whether you’re preparing them for a holiday party, a family gathering, or simply because you’re craving something sweet, these bars are sure to impress.What Are Linzer Bars?Linzer Bars are a modern twist on the classic Linzer Cookies that originate from Austria. Traditionally, Linzer cookies consist of two almond-based cookies with a layer of jam in the center. The cookies are often cut into delicate shapes and then sandwiched together, making them a bit time-consuming to assemble. However, these Almond Raspberry Linzer Bars take all the flavors of the classic cookie and transform them into a simple bar. They are just as delicious but much easier to make and serve. With a buttery almond-flavored crust and a sweet fruit jam filling, these bars are perfect for anyone who wants a hassle-free dessert that’s still impressive.Why You’ll Love These Almond Raspberry Linzer Bars There are several reasons why I think you’ll love these Almond Raspberry Linzer Bars: Easy to Make: Unlike traditional Linzer cookies, these bars don’t require any fancy cookie cutters or sandwiching. Simply press the dough into a baking dish, spread with jam, crumble over the remaining dough, and bake. Easy, right?Buttery Almond Flavour: The dough is made with ground almonds, giving these bars a rich, nutty flavour that pairs perfectly with the sweet raspberry jam.Versatile: While I’ve used raspberry jam in this recipe, you can easily swap it out for your favorite fruit jam—strawberry, apricot, or even mixed berry would work beautifully.Make Ahead: These bars store really well, and they even taste better after a day or two, making them ideal for baking ahead of time for parties or gatherings.Perfect for Any Occasion: These bars are perfect for holiday cookie exchanges, afternoon tea, or as a sweet treat to have on hand throughout the week. Their elegance makes them suitable for any occasion.
Ingredients
For the Cookie Base:
- 1 ½ cups unsalted butter softened
- 1 cup granulated sugar
- 2 large egg yolks
- 1 tsp vanilla extract
- 1 tsp almond extract
- 2 ¼ cups all-purpose flour
- 1 cup ground almonds or almond meal
- ½ tsp baking powder
- ½ tsp salt
For the Raspberry Filling:
- 1 cup raspberry jam or any fruit jam of your choice, like strawberry, apricot, or blackberry
- 2 tbsp fresh lemon juice optional, for a tart balance
For the Topping:
- Powdered sugar for dusting
Instructions
Prepare the Cookie Dough:
- Preheat your oven to 350°F (175°C) and line a 9×9-inch baking dish with parchment paper, making sure the paper hangs over the sides for easy removal later.
- In a large mixing bowl, cream together the softened butter and granulated sugar using a hand mixer or stand mixer until light and fluffy. This will take about 3-4 minutes.
- Add the egg yolks, vanilla extract, and almond extract to the butter-sugar mixture, and mix until fully incorporated.
- In a separate bowl, whisk together the flour, ground almonds, baking powder, and salt. Gradually add the dry mixture to the wet ingredients and mix until a soft dough forms.
- Press about ¾ of the dough into the prepared baking dish, spreading it evenly to cover the bottom. You want a nice, even base layer. The dough will be a bit thick, but that’s okay!
Add the Raspberry Filling:
- Once you’ve pressed the dough into the pan, spread a thin layer of raspberry jam (or your jam of choice) over the dough. You can also add fresh lemon juice to the jam to give it a bit of a tart contrast if you like. The jam layer should be about ½ inch thick—just enough to give each bite a fruity burst without overflowing.
Add the Crumbly Topping:
- Now, crumble the remaining dough over the jam layer. You don’t need to cover it completely, as you want the jam to peek through in some places, but make sure the jam is well-covered in most areas.
Bake the Bars:
- Bake the bars in the preheated oven for about 30-35 minutes, or until the top is lightly golden and firm to the touch. The jam should bubble around the edges, and the top should be slightly crisp. Be careful not to overbake the bars, as you want them soft and chewy in the middle.
Cool and Serve:
- Allow the bars to cool completely in the pan before lifting them out using the parchment paper overhang. Once cooled, use a sharp knife to cut the bars into squares or rectangles.
- Finish the Almond Raspberry Linzer Bars with a light dusting of powdered sugar for a beautiful, snowy look.
Enjoy!
- These delicious bars are perfect for a holiday treat, party platter, or simply for indulging in with a cup of tea or coffee. The nutty almond base, the sweet raspberry filling, and the crumble topping make every bite a little piece of heaven.
Notes
Tips for the Best Linzer Bar Cookies:
- Use a good-quality jam: Since the raspberry jam is the heart of this recipe, choosing a high-quality jam or even homemade jam will make all the difference in flavor.
- Chill the dough: If you find the dough a bit sticky to work with, don’t hesitate to chill it in the fridge for about 15 minutes before pressing it into the pan. It will be much easier to handle.
- Experiment with different nuts: If almonds aren’t your favorite, you can swap them out for hazelnuts, walnuts, or even pecans for a different flavor. Just be sure to grind them finely so they mix well into the dough.
- Switch up the fruit filling: While raspberry is traditional, feel free to experiment with other fruit jams like apricot, strawberry, or blackberry. Each one will give the bars its own unique flavor profile.
- Make ahead: These bars are great for making ahead. You can store them in an airtight container at room temperature for up to 4-5 days, or freeze them for up to 3 months. If freezing, wrap them tightly in plastic wrap before placing them in an airtight container or freezer bag.
- Customise the top layer: For an extra indulgent treat, drizzle some melted chocolate over the top or sprinkle with chopped nuts to add some crunch. Why You’ll Love These Linzer Bars: These Almond Raspberry Linzer Bars are a simplified version of the classic Linzer cookies. They take all the goodness of the traditional cookie—almond flavor, fruit jam, and a crumbly texture—and turn it into an easy-to-make bar that’s just as delicious and much less time-consuming. The result is a beautiful and tasty treat that will be a hit at any gathering, whether it’s for the holidays or just a special weeknight dessert. They’re perfect for those who love jam-filled desserts but don’t have the time to cut and sandwich cookies. With their almond dough and sweet filling, these bars deliver all the flavor you crave with half the effort!
Nutrition
Calories: 372kcalCarbohydrates: 42gProtein: 4gFat: 22gSaturated Fat: 11gPolyunsaturated Fat: 1gMonounsaturated Fat: 5gTrans Fat: 1gCholesterol: 70mgSodium: 97mgPotassium: 46mgFiber: 1gSugar: 23gVitamin A: 564IUVitamin C: 3mgCalcium: 37mgIron: 1mg
Tried this recipe?Let us know how it was!
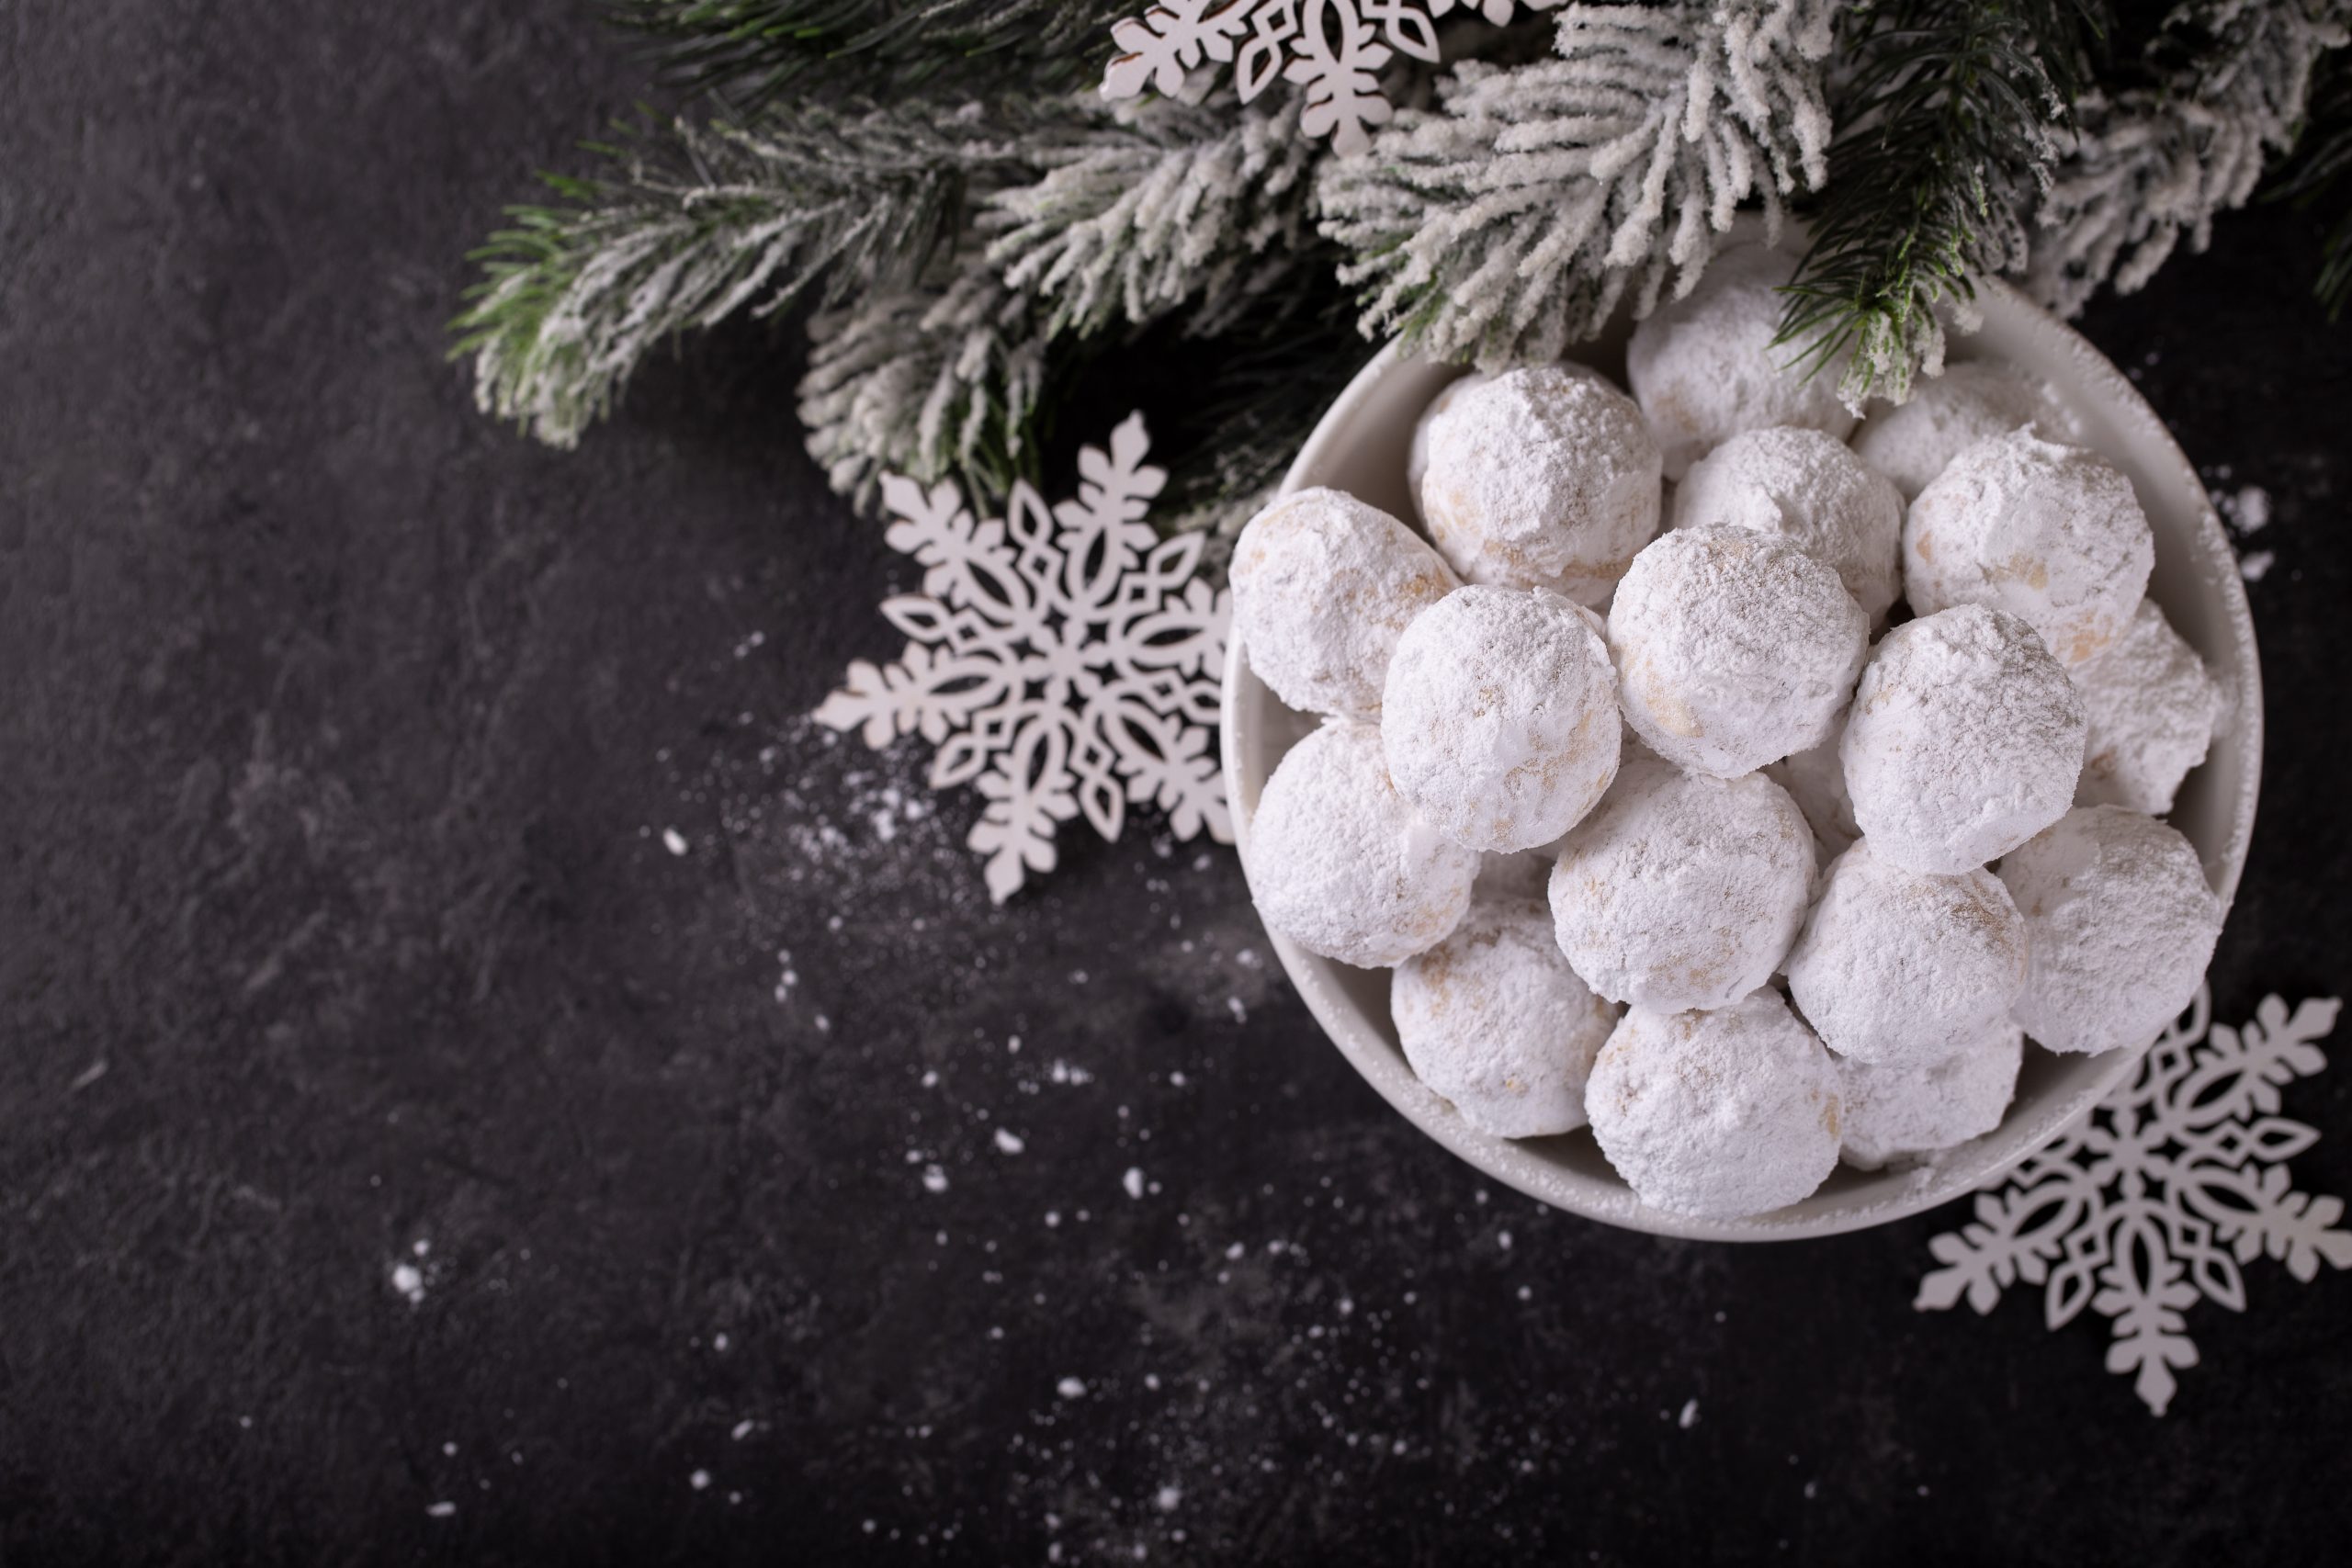
Cinnamon Snowball Cream Cheese Cookies
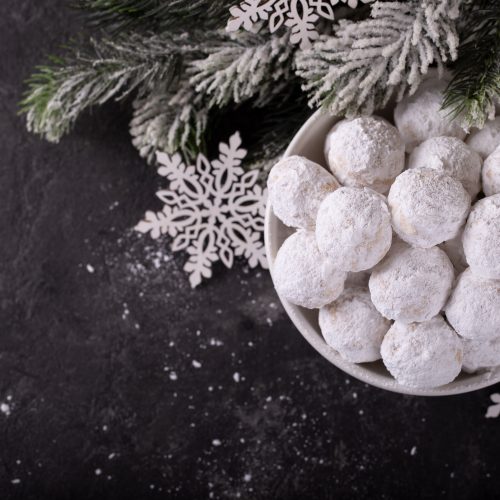
Cinnamon Snowball Cream Cheese Cookies
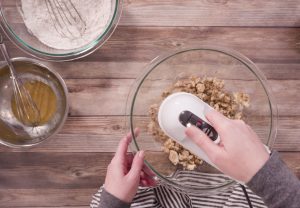
Cinnamon Snowball Cream Cheese Cookies: A Festive Twist on a ClassicThe holiday season is here, and with it comes the joy of baking sweet treats that warm our hearts and kitchens. If you're looking for a new cookie to add to your collection, let me introduce you to Cinnamon Snowball Cream Cheese Cookies—a delightful and festive twist on the classic cinnamon sugar cookie. With a buttery cream cheese base, a generous dusting of cinnamon-sugar, and a final roll in powdered sugar, these cookies are soft, melt-in-your-mouth delicious, and perfect for gift-giving, cookie exchanges, or cozy afternoons by the fireplace.Let’s dive into the recipe and the tips to make these cookies your new holiday favorite!Why You'll Love These Cinnamon Snowball Cream Cheese CookiesThese cookies are truly something special. The combination of rich cream cheese and butter creates a soft, tender dough that is both sweet and tangy. Add a generous coating of cinnamon sugar, and you've got a cookie that’s bursting with flavor. But it doesn’t stop there—the powdered sugar coating on top gives these cookies a delicate, snowball-like appearance, making them perfect for the holiday season.They’re easy to make, full of cozy flavors, and will become a crowd favorite at your next holiday party or cookie swap. Whether you’re a seasoned baker or just starting out, this recipe is simple to follow and guarantees a delicious outcome every time.
Ingredients
- 1/2 cup unsalted butter softened
- 4 ounces cream cheese softened
- 1 1/2 cups powdered sugar plus extra for coating
- 1 large egg
- 1/2 teaspoon baking powder
- 1 teaspoon vanilla extract or vanilla bean paste for a richer flavor
- Pinch of kosher salt
- 1 3/4 cups all-purpose flour
- 1/4 cup granulated sugar
- 1 tablespoon ground cinnamon
- Extra powdered sugar for rolling the cookies after baking
Instructions
Cream the Butter and Cream Cheese
- Start by creaming together the butter and cream cheese in a large mixing bowl. Using a hand mixer or stand mixer, beat on medium speed until the mixture is smooth and fluffy. It’s important that both the butter and cream cheese are softened to room temperature before you begin. Cold butter and cream cheese will make the dough lumpy and harder to mix.
Mix in the Sugar and Wet Ingredients
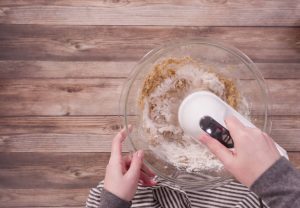
- Once the butter and cream cheese are well combined, slowly add in the powdered sugar. Continue mixing until the sugar is fully incorporated and the mixture is smooth. Next, add the egg, vanilla extract, and a pinch of kosher salt. Beat until the dough is light and fluffy.
Add the Dry Ingredients
- In a separate bowl, whisk together the flour, baking powder, and cinnamon. Gradually add the dry ingredients to the wet mixture. Mix on low speed, scraping down the sides of the bowl as necessary. The dough should be soft but slightly sticky. Don’t worry if it’s a bit on the thicker side—it will firm up nicely after chilling.
Chill the Dough
- Now it’s time to chill the dough. Cover the bowl with plastic wrap and place it in the refrigerator for at least 1 hour. Chilling the dough is an important step that helps the cookies keep their shape while baking. It also makes the dough easier to handle when rolling it into balls.
Prepare the Cinnamon-Sugar Coating
- While the dough is chilling, prepare the cinnamon-sugar coating by combining the granulated sugar and ground cinnamon in a small bowl. Stir until well-mixed. This will be used to coat the dough balls before baking, giving your cookies their signature cinnamon flavor.
Shape the Dough
- Once the dough has chilled, scoop out about 1 tablespoon of dough (or about 15 grams per ball) and roll it into a smooth ball. The dough should be easy to handle after chilling. Roll each ball in the cinnamon-sugar mixture until fully coated. Place the coated dough balls on a parchment-lined baking sheet, spacing them about 2 inches apart to allow for some spreading.
Bake the Cookies
- Preheat your oven to 375°F (190°C). Bake the cookies for 8-9 minutes. These cookies won’t brown like traditional cookies, so you’ll know they’re done when they’ve puffed up and the edges are set. Be careful not to overbake them; the key is to pull them out while they’re still soft in the center. They’ll firm up as they cool.
Cool and Coat with Powdered Sugar
- Allow the cookies to cool on the baking sheet for about 5-10 minutes. After they’ve cooled slightly, roll them in powdered sugar for the classic snowball cookie finish. This adds a touch of sweetness and a beautiful snowy effect to the cookies. If you want to make them look even more festive, dust them with extra powdered sugar right before serving.
Enjoy!
- Once the powdered sugar has set, your Cinnamon Snowball Cream Cheese Cookies are ready to enjoy! They’re perfect for cookie swaps, holiday parties, or simply as an afternoon treat with a cup of tea or hot chocolate. These cookies store well for up to a week in an airtight container, so feel free to make them ahead of time for a stress-free holiday season.
Notes
Tips and Tricks for Perfect Cinnamon Snowball Cream Cheese Cookies
Here are some additional tips to ensure your cookies turn out perfectly every time:
- Softened Butter and Cream Cheese
- Chill the Dough
- Adjust the Cinnamon Sugar Coating
- Don’t Overbake
- Powdered Sugar Coating
- Storage
- A cup of hot cocoa or spiced chai tea for a cozy pairing.
- A festive cookie tray along with other holiday favorites like gingerbread, sugar cookies, and shortbread.
- A light dusting of cocoa powder or edible glitter for extra holiday sparkle. Final Thoughts These Cinnamon Snowball Cream Cheese Cookies are the perfect blend of buttery richness and cinnamon-spiced sweetness, topped off with a snowy powdered sugar coating. Whether you’re looking to bake a batch for your next holiday cookie exchange or simply treat yourself to something special, these cookies are a must-try. Their soft texture and delightful flavors are sure to make them a holiday favorite in your home. So, preheat your oven, grab your ingredients, and start baking these melt-in-your-mouth, festive treats today! Happy baking!
Nutrition
Calories: 120kcalCarbohydrates: 16gProtein: 1gFat: 6gSaturated Fat: 3gPolyunsaturated Fat: 0.3gMonounsaturated Fat: 1gTrans Fat: 0.1gCholesterol: 21mgSodium: 26mgPotassium: 21mgFiber: 0.4gSugar: 9gVitamin A: 185IUVitamin C: 0.01mgCalcium: 16mgIron: 0.5mg
Tried this recipe?Let us know how it was!
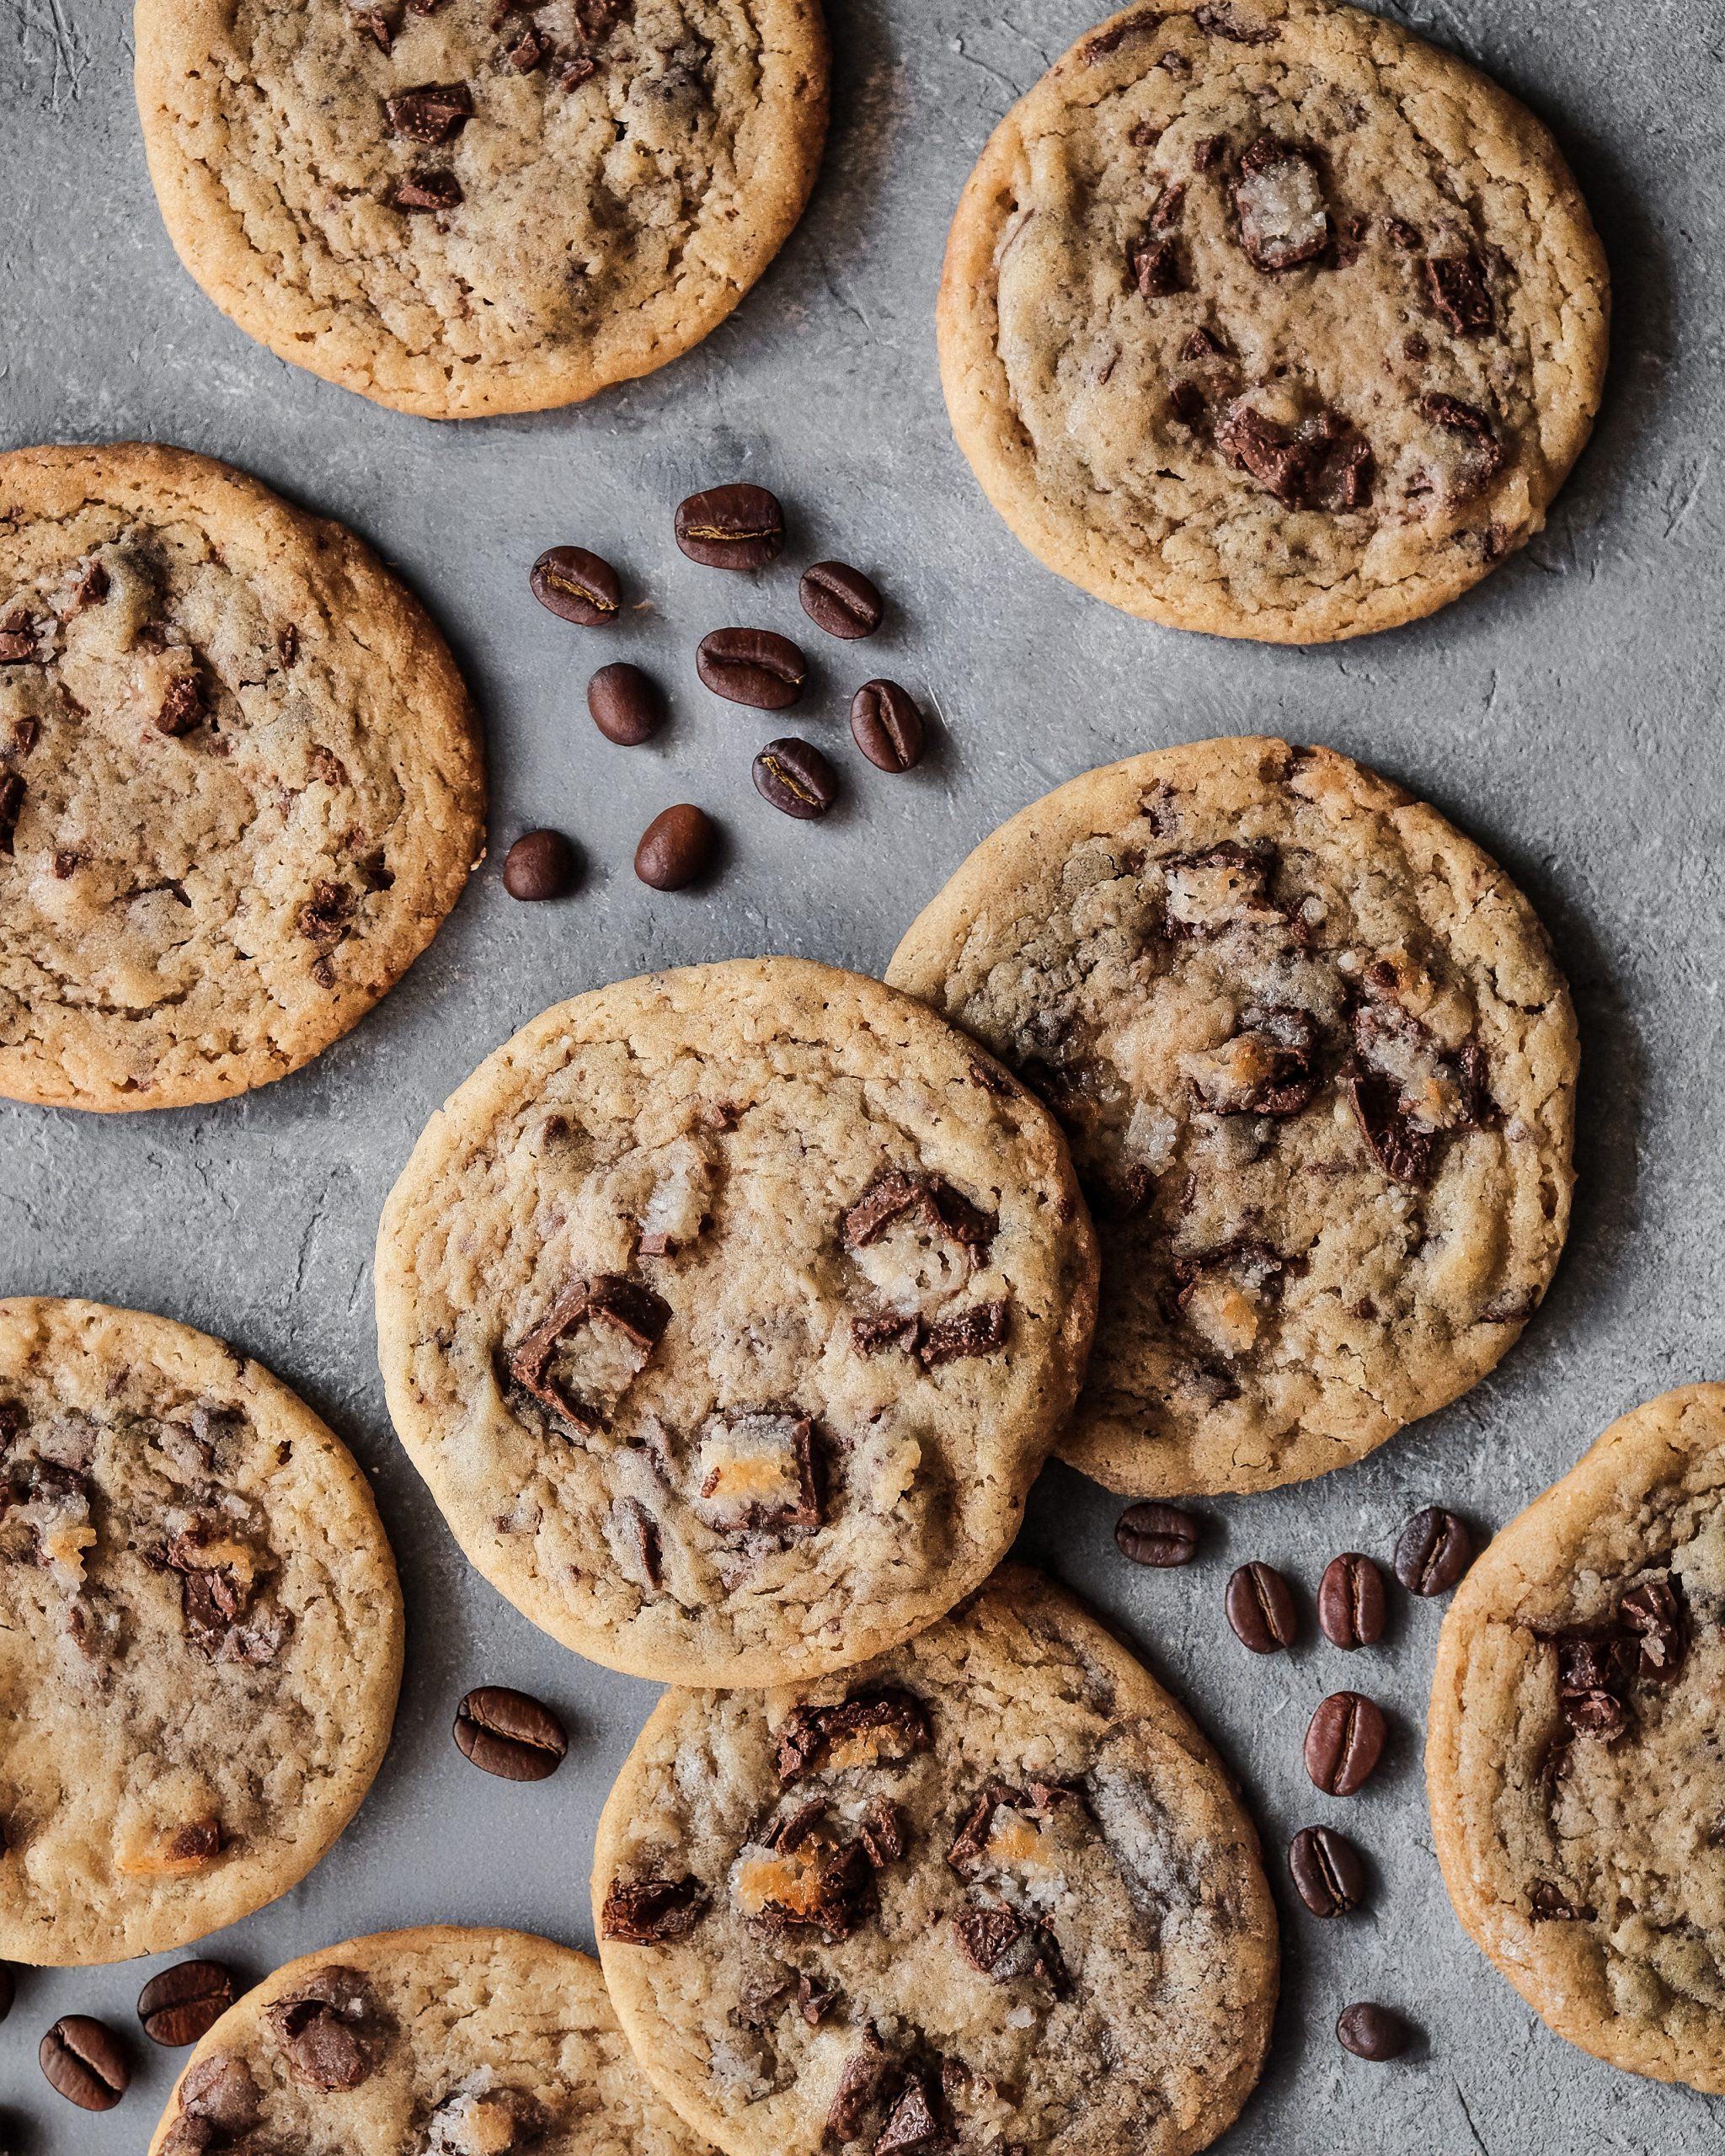
Café Crunch Espresso Cookies with Dark Chocolate Chunks
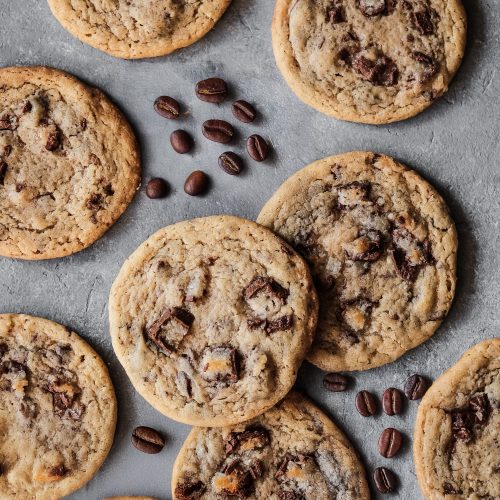
Café Crunch Espresso Cookies with Dark Chocolate Chunks
The Perfect Coffee Lover’s Cookie Are you a coffee lover who enjoys indulging in a decadent, coffee-flavored treat? Look no further! These Café Crunch Espresso Cookies with Dark Chocolate Chunks are your ultimate cookie experience. With their perfect balance of rich coffee flavor, melted dark chocolate, and a surprising crunch from espresso beans, these cookies are an irresistible combination of sweet, bitter, and just the right amount of crunch. Whether you’re looking for a cozy treat to pair with your morning coffee or a special dessert for a coffee-loving friend, these cookies will surely hit the spot.Let’s dive into why these cookies are so special and why they should make an appearance in your kitchen this season.Why These Café Crunch Espresso Cookies Will Be Your New Favorite Treat 1. The Coffee Flavor: Bold and DeepThe hero of this recipe is the espresso powder. You’ll get that rich, bold coffee flavor in every bite without the acidity or bitterness of a typical brewed coffee. The instant espresso powder melts right into the dough, ensuring that you get an intense coffee flavor that compliments the dark chocolate chunks beautifully. This is a cookie that really celebrates the coffee lover in all of us.2. Dark Chocolate BlissWhat’s a coffee-flavored cookie without a generous amount of chocolate? These cookies feature dark chocolate chunksthat melt into gooey pockets of chocolate goodness. The dark chocolate pairs perfectly with the espresso powder, creating a mocha-like flavor that is both sophisticated and satisfying.3. A Surprise CrunchThe secret twist to these cookies is the addition of chocolate-covered espresso beans. When you bite into one of these cookies, you’ll get a delightful crunch along with the smoothness of the dough and the richness of the chocolate. It’s a unique addition that elevates the cookie to another level, adding both texture and an extra punch of coffee flavor.4. Perfect TextureWe all know the struggle of trying to get the perfect texture in a cookie—crispy edges but chewy centers. With this recipe, you’ll get exactly that! The dough bakes to perfection, with the edges turning golden brown while the center remains soft and chewy. It’s the perfect balance between crispness and a melt-in-your-mouth experience.5. Quick and Easy to MakeNot only are these cookies delicious, but they’re also incredibly simple to prepare. With just a few ingredients and straightforward steps, you’ll be able to whip up a batch of Café Crunch Espresso Cookies in under 30 minutes (plus chilling time). It’s the perfect cookie to make when you’re craving something homemade but don’t want to spend all day in the kitchen.Step-by-Step Instructions to Make Café Crunch Espresso CookiesNow that you know what makes these cookies so irresistible, let’s dive into how to make them. Whether you're a seasoned baker or a novice in the kitchen, these cookies are easy to pull off!
Ingredients
For the Cookies:
- 1 cup unsalted butter softened
- 3/4 cup granulated sugar
- 1/2 cup brown sugar packed
- 2 large eggs
- 1 1/2 teaspoons vanilla extract
- 2 tablespoons instant espresso powder or finely ground espresso beans
- 1 1/2 cups all-purpose flour
- 1/2 teaspoon baking soda
- 1/4 teaspoon kosher salt
- 3/4 cup dark chocolate chunks or chips
- 1/4 cup chopped chocolate-covered espresso beans optional but adds a fantastic crunch
For the Topping (optional):
- 1/4 cup granulated sugar for rolling
- 1 tablespoon instant espresso powder for rolling, optional but adds extra coffee kick
Instructions
Step 1: Preheat and Prepare
- Preheat your oven to 350°F (175°C). Line two baking sheets with parchment paper or silicone mats. This ensures your cookies bake evenly and are easy to remove once they’re done.
- In a small bowl, whisk together the flour, baking soda, and salt. Set this mixture aside.
- In another small bowl, combine granulated sugar and instant espresso powder for the optional rolling step. This will give the cookies an extra burst of espresso flavor on the surface. If you love coffee, you won’t want to skip this!
Step 2: Cream the Butter and Sugars
- In a large mixing bowl, beat the softened butter, granulated sugar, and brown sugar until the mixture becomes light and fluffy. This should take about 3-4 minutes using a hand mixer or stand mixer on medium speed. Scrape down the sides of the bowl to ensure everything is well incorporated.
- Next, add in the eggs, one at a time, mixing well after each addition. Stir in the vanilla extract until combined.
Step 3: Add the Dry Ingredients
- Gradually add the dry ingredients (flour, baking soda, and salt) into the butter-sugar mixture. Mix until just incorporated—don’t overwork the dough. You want the dough to be thick but soft.
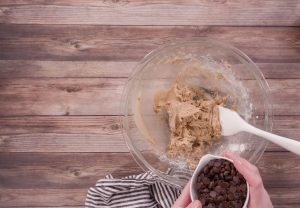
Step 4: Add the Espresso and Chocolate
- Fold in the espresso powder, dark chocolate chunks, and chopped chocolate-covered espresso beans (if using). The dough will start to smell heavenly as the coffee and chocolate combine!
Step 5: Shape the Cookies
- Using a tablespoon, scoop out portions of dough and roll them into balls (about 1 1/2 inches in diameter). If you’re using the optional espresso-sugar coating, roll each dough ball in the mixture of granulated sugar and espresso powder. This adds a lovely crunch to the exterior and an extra layer of coffee flavor.
- Place the dough balls on the prepared baking sheets, spacing them about 2 inches apart. Press down lightly on each ball to slightly flatten it. If you prefer thicker cookies, you can skip this step and leave the dough balls as-is.

Step 6: Bake the Cookies
- Bake the cookies in the preheated oven for 9-11 minutes. Keep an eye on them, as they should just begin to turn golden around the edges. The centers will still look slightly soft, but don’t worry—they’ll firm up as they cool.
- Let the cookies cool on the baking sheet for about 5 minutes before transferring them to a wire rack to cool completely.
Notes
Tips for Perfect Café Crunch Espresso Cookies
- Espresso Powder: Use high-quality espresso powder for the best flavor. You can find this in most grocery stores, or you can grind your own beans if you prefer. Make sure the espresso powder is finely ground for the best texture in your cookies.
- Chill the Dough: If you like your cookies a little thicker and chewier, chill the dough for at least 30 minutes before baking. Chilling helps the dough firm up and prevents spreading too much during baking.
- Make Them Your Own: Experiment with different types of chocolate! Swap the dark chocolate for milk chocolate, white chocolate, or even a mix of all three. You can also add chopped nuts or toffee bits for an extra twist.
- Don’t Overbake: To keep your cookies soft and chewy in the middle, be sure to pull them from the oven when the edges are golden but the center still looks soft. They’ll firm up as they cool.
- Make Them Gift-Worthy: These cookies are great for gift-giving! Pack them in cute cookie tins or gift bags with a ribbon for a personal, coffee-inspired gift. The Ultimate Cookie for Coffee Lovers If you’re someone who loves coffee, chocolate, or just the joy of homemade cookies, these Café Crunch Espresso Cookies with Dark Chocolate Chunks are sure to become your new favorite treat. With their deep coffee flavor, melty chocolate chunks, and unexpected crunch from chocolate-covered espresso beans, these cookies are the perfect balance of everything you crave in a dessert. Enjoy them on your next coffee break, share them with friends, or keep them all to yourself—either way, these cookies will bring a smile to your face and an extra dose of energy to your day!
Nutrition
Calories: 194kcalCarbohydrates: 23gProtein: 2gFat: 11gSaturated Fat: 7gPolyunsaturated Fat: 0.5gMonounsaturated Fat: 3gTrans Fat: 0.3gCholesterol: 33mgSodium: 54mgPotassium: 48mgFiber: 1gSugar: 15gVitamin A: 246IUCalcium: 12mgIron: 1mg
Tried this recipe?Let us know how it was!

Brown Butter Sea Salt Dark Chocolate Chunk Cookies

Brown Butter Sea Salt Dark Chocolate Chunk Cookies
Ingredients
- 1 cup salted butter
- 2 cups all-purpose flour
- 1 teaspoon sea salt
- 1 teaspoon baking soda
- ¾ cup granulated sugar
- ½ cup brown sugar packed
- 2 large eggs
- 1 tablespoon cold water
- 1 tablespoon vanilla
- 8 ounces dark chocolate chunks or chopped from a bar of chocolate
- Flakey sea salt
Instructions
- Pre Heat Oven 350 °F
- Melt the butter in a large skillet over medium-high heat. Allow it to cook for about 5 minutes, swirling the pan occasionally, until it becomes fragrant and turns a rich brown color. It will initially foam but will calm down once it’s browned. Carefully transfer the brown butter into a large, heat-resistant bowl, ensuring you scrape up all the browned bits, as they will enhance texture and flavor. Chill the butter in the refrigerator for a minimum of one hour, or until it solidifies yet remains soft.
- In a medium bowl, combine the flour, sea salt, and baking soda, whisking them together well. Next, mix both sugars into the brown butter using electric beaters for about one minute. Incorporate the eggs, water, and vanilla, beating the mixture until it’s well combined. Gradually add the flour mixture, mixing until it starts to come together before folding in the chopped chocolate.
- Cover the cookie dough with a sheet of parchment paper directly in the bowl. Refrigerate the bowl for at least 2 hours, or up to 5 days for optimal flavor development.
- When you're ready to bake, preheat your oven. Scoop the dough into balls, placing 6 balls on each baking sheet. Be sure not to overcrowd the sheets, as the cookies will spread significantly during baking! Bake for 12-16 minutes, turning the sheets halfway through. As soon as they come out of the oven, generously sprinkle them with coarse sea salt.
Nutrition
Calories: 281kcalCarbohydrates: 31gProtein: 3gFat: 16gSaturated Fat: 10gPolyunsaturated Fat: 1gMonounsaturated Fat: 4gTrans Fat: 0.4gCholesterol: 46mgSodium: 283mgPotassium: 124mgFiber: 2gSugar: 17gVitamin A: 346IUCalcium: 22mgIron: 2mg
Tried this recipe?Let us know how it was!